
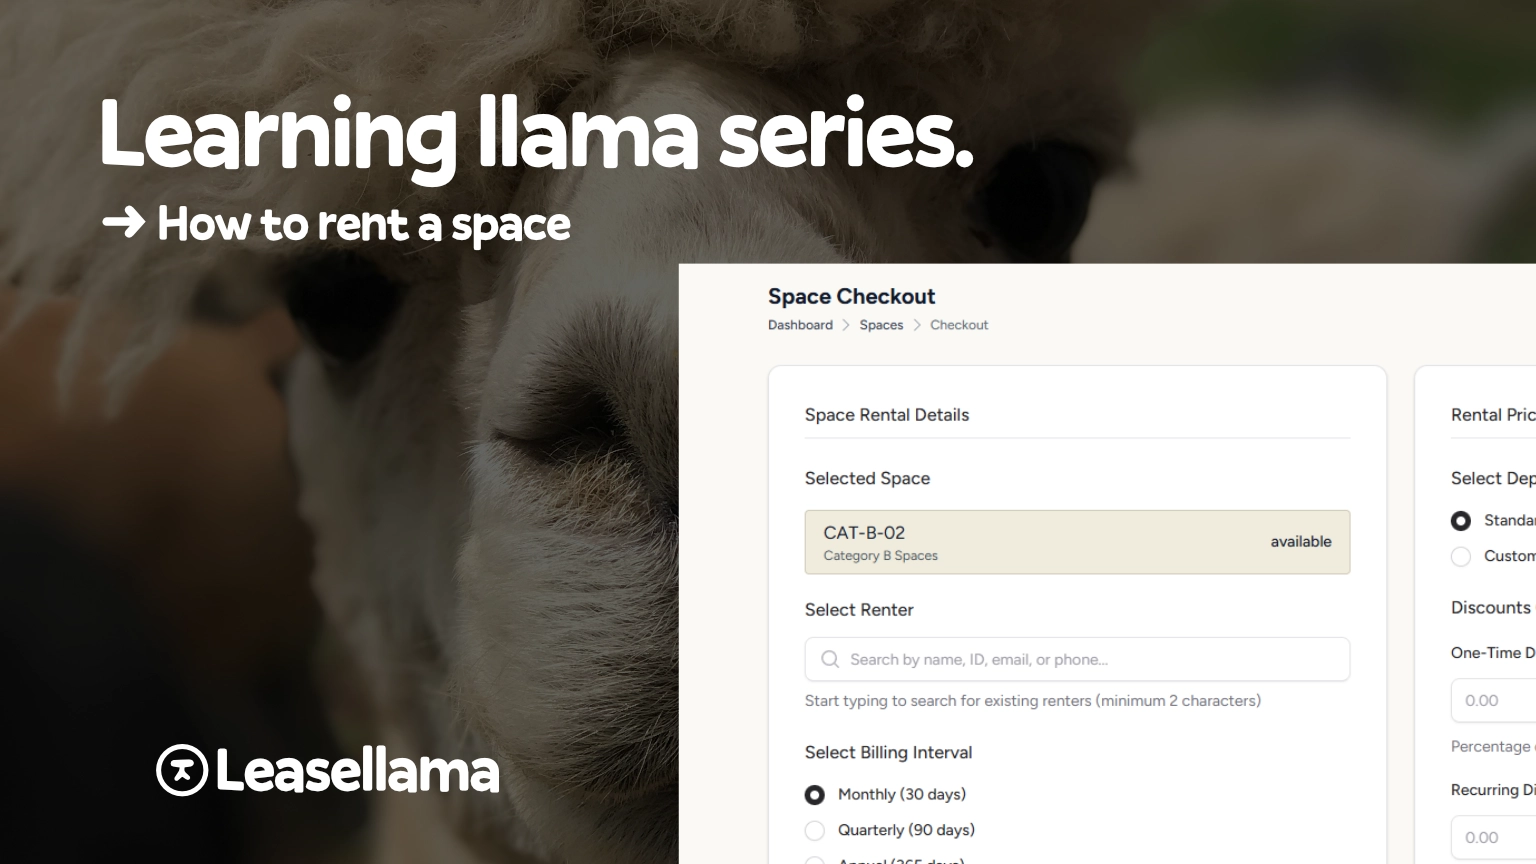
How to Rent a Space: The LeaseLlama Checkout Process
A step-by-step walkthrough of the LeaseLlama checkout process — from getting a renter into the system to a signed contract and first invoice, start to finish.
The LeaseLlama Team on March 11, 2026
Someone just called asking about a space. You’ve got one available. Now what?
This post walks through the full checkout process in LeaseLlama, from opening the app to the moment the renter has a signed contract and a first invoice in their inbox. It’s the core workflow you’ll use every time you take on a new rental.
Here’s what we’ll cover:
- Make sure a space is available
- Create the renter (or find an existing one)
- Start the checkout
- Set the lease terms
- Collect the deposit
- The renter signs the contract
- The first invoice is generated
Let’s walk through it.
Step 1: Make sure a space is available
Before starting a checkout, you need an available space to assign. From the Dashboard, click into Spaces and filter by category if needed. Available spaces show a green Available badge. If a space is listed as Occupied or Reserved, it can’t be checked out until it’s freed up.
If you’re not sure which space to assign yet, that’s fine. You can decide during the checkout flow. Just know going in roughly which category and space you’re working with.
Step 2: Create or find the renter
Every rental is attached to a Renter record. If this person has rented with you before, they’re already in the system — just search by name, email, or phone in the Renters section.
If they’re new:
- Go to Renters in the main navigation
- Click Create New Renter
- Enter their first and last name, email address, and phone number
- Add a mailing address if you require it for your contract
- Click Create Renter
That’s all that’s required to get started. You can always fill in additional details (emergency contacts, authorized persons, notes) from the renter’s profile later.
Tip: The email address is important: it’s where the contract signing link and invoices get sent. Double-check it before moving on.
Step 3: Start the checkout
Now you’re ready to open the checkout flow. There are two ways to start:
From the Spaces list:
- Find the space you want to rent out
- Click the space to open its detail view
- Click the Checkout button
From the Renter profile:
- Open the renter’s profile
- Click New Rental
- Select the space from the picker
Both paths lead to the same checkout screen. Use whichever feels natural. If you already know the space, start from Spaces. If you’re looking at the renter’s record, start from there.
Step 4: Set the lease terms
The checkout screen is where you configure the actual rental. Here’s what you’ll set:
Billing frequency: Monthly is the most common, but you can also set quarterly or annual billing. This controls how often invoices generate and the price used.
Start date: The date the rental begins. LeaseLlama defaults to today, but you can backdate or set a future date. If the start date is in the past, the first invoice will be prorated to cover the days already elapsed.
End date: LeaseLlama leases are month-to-month by default, so you can leave this blank. If you have a fixed-term lease (say, a 6-month agreement), set an end date and LeaseLlama will stop billing automatically when it’s reached.
Rate: This auto-fills from the category or space default. If you’ve negotiated a different rate for this renter, you can override it here.
Deposit: Like the rate, it defaults from the category setting. Override it if needed.
Notes: Anything you want to record internally about this rental. Not visible to the renter.
Take a minute to review everything before clicking Next. Changing lease terms after the fact is possible, but starting clean saves you work.
Step 5: Collect the deposit
Before the rental is finalized, LeaseLlama will prompt you to record the deposit. You have two options:
Charge via Stripe: If you’ve connected Stripe and the renter has a saved payment method (or you enter a card now), LeaseLlama can charge the deposit immediately. It shows up in the renter’s ledger as a deposit on file.
Record manually: If the renter is paying by cash or check, select Manual Payment, enter the amount, and choose the payment type. You’re just recording that it was collected — no card required.
If you’re not collecting a deposit, you can mark it as waived and move on.
On deposits: Deposits are tracked separately from rent in the renter’s ledger. When the renter eventually moves out, you’ll be able to return, apply, or forfeit the deposit as part of the check-out process.
Step 6: The renter signs the contract
After the deposit step, LeaseLlama generates a digital rental agreement using your contract template and the terms you just set: renter name, space ID, rate, start date, all of it.
There are two ways to get it signed:
Email the signing link: Click Send Contract and LeaseLlama emails the renter a link. They can review and sign from their phone or computer. You’ll get a notification when it’s done, and the signed copy is saved automatically to their profile.
Sign in person: If the renter is standing in front of you, click Sign Now to open the contract on your screen. They can sign on your device directly.
Either way, no one is taking up space in a filing cabinet. The signed PDF lives in LeaseLlama permanently.
Note: If your contract template hasn’t been set up yet, LeaseLlama will prompt you to create one before proceeding. Head to Administration → Contracts to set it up. It only takes a few minutes. We’ve got a full walkthrough on how contracts work if you need it.
Step 7: The first invoice is generated
Once the contract is signed (or sent), the checkout is complete. LeaseLlama automatically creates the first invoice.
If the start date is today or in the past, the invoice is generated immediately and emailed to the renter. If there are partial days to prorate (e.g., they started mid-month), LeaseLlama calculates the prorated amount automatically.
If the start date is in the future, the invoice will be held and sent when the billing date arrives.
The space status updates to Occupied and the renter’s profile now shows their active rental, including all payment history going forward.
What happens next?
From here, recurring invoices generate automatically based on the billing frequency you set. You don’t have to do anything. LeaseLlama handles it.
If the renter has a saved payment method via Stripe, invoices are charged automatically on the due date. If they’re paying manually, you’ll record each payment as it comes in from the renter’s invoice detail page.
You can check the status of any rental at any time from the Spaces list or the Renter profile. The space detail view shows the current renter, the lease start date, the last invoice, and next billing date. Everything in one spot.
The short version
- Find an available space
- Create or look up the renter
- Start checkout from the space or the renter profile
- Set billing frequency, start date, rate, and deposit
- Collect or record the deposit
- Send or complete the contract signing
- First invoice generates automatically
That’s it. Most checkouts take under five minutes once you’ve done it a couple of times.
Ready to try it live? Start your free trial. 30 days of full access, cancel anytime.
Keep reading
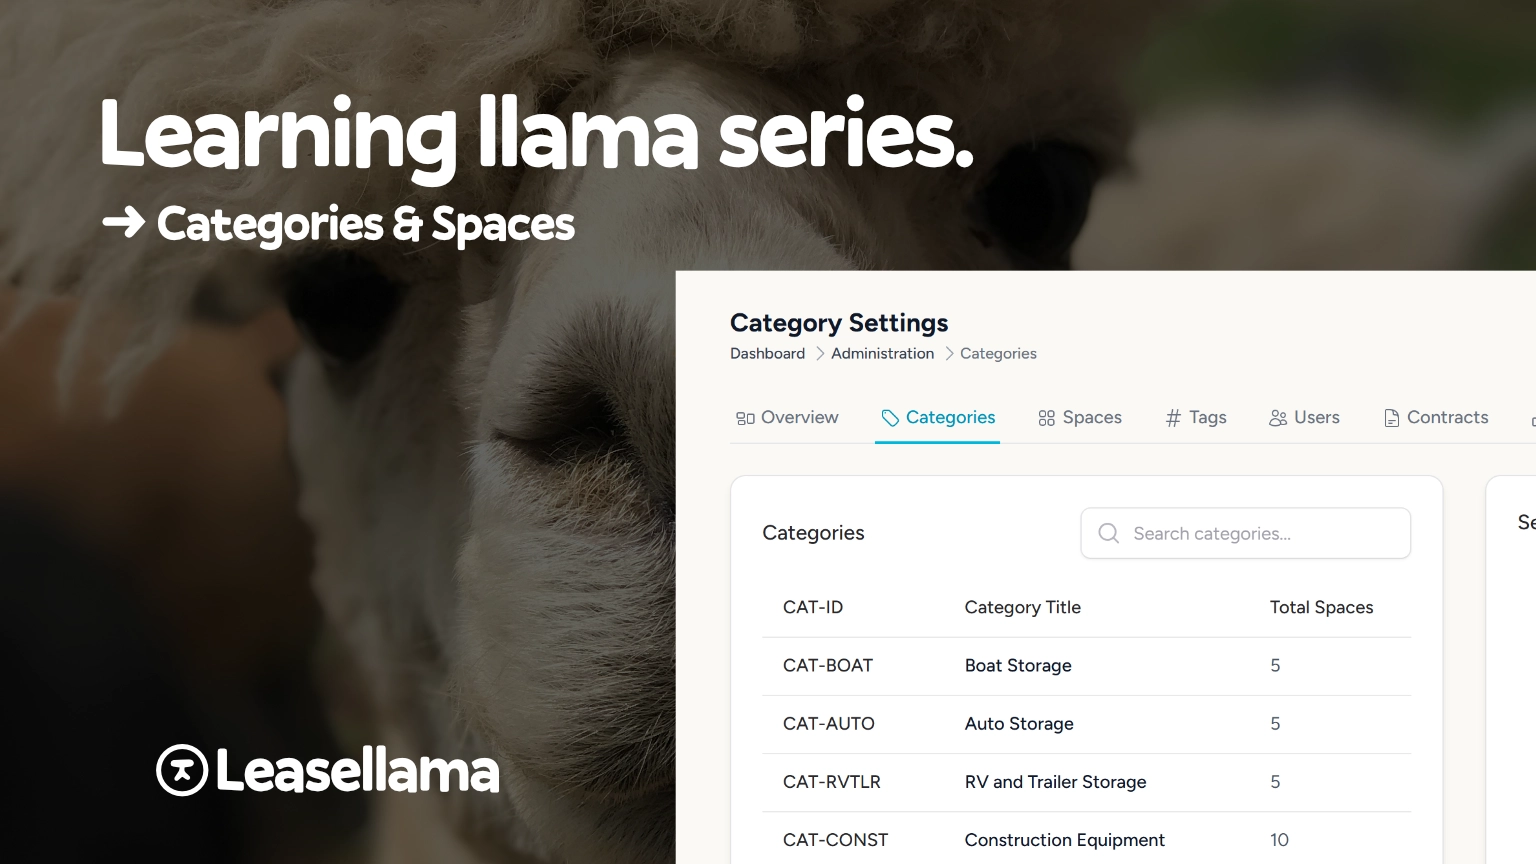
Categories and Spaces: How LeaseLlama Organizes Your Facility
Learn how LeaseLlama's two-level system of categories and spaces helps RV storage, boat storage, parking, and warehouse operators set up consistent pricing and manage inventory without the headache.
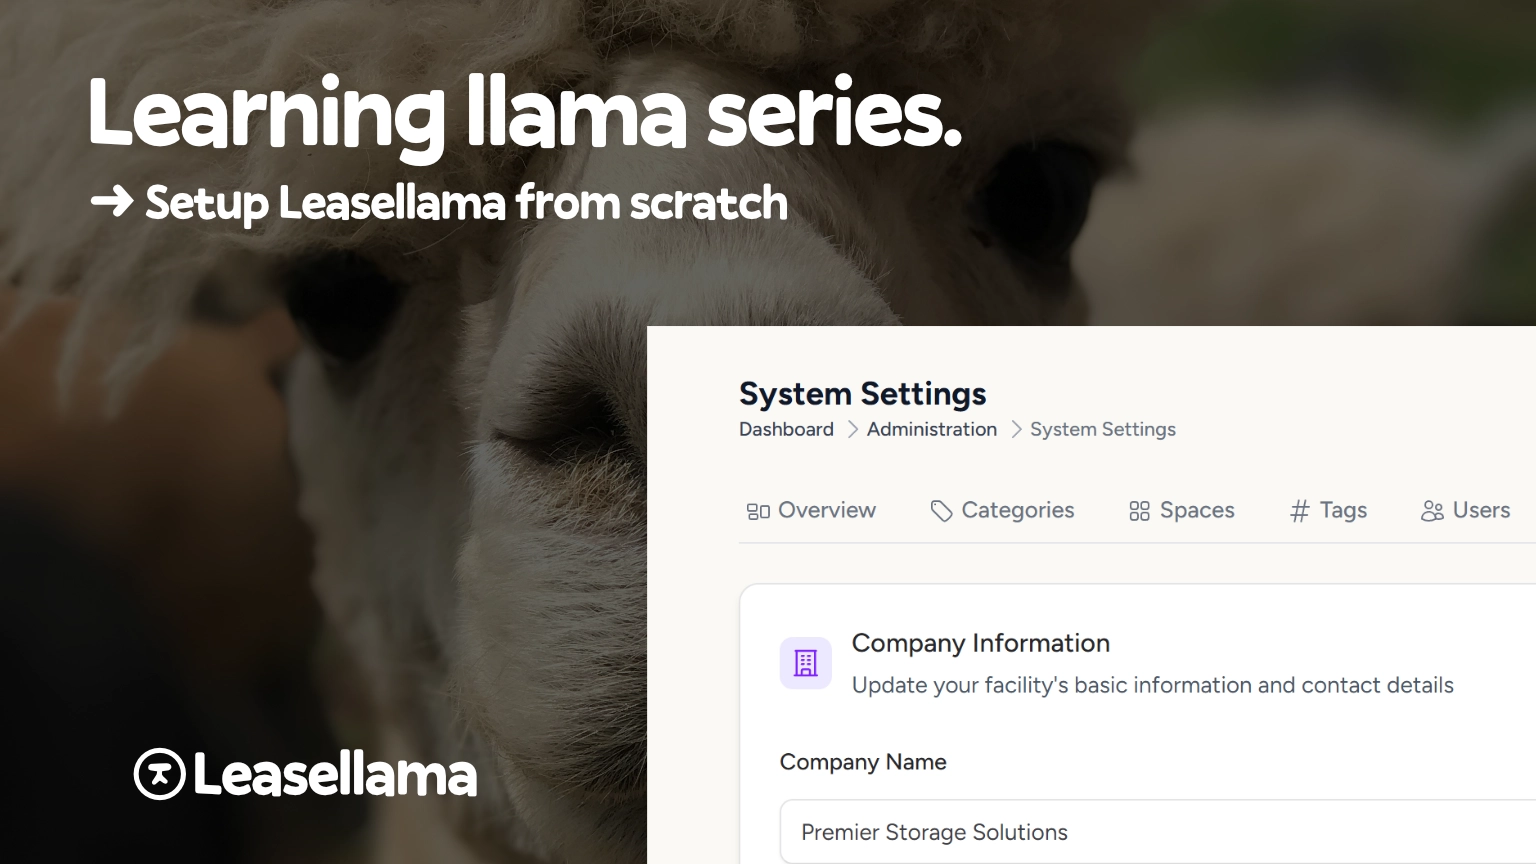
How to Set Up LeaseLlama from Scratch
A step-by-step setup guide for new LeaseLlama users — from signing up to renting your first space. Covers system settings, categories, spaces, contracts, Stripe, and adding staff.
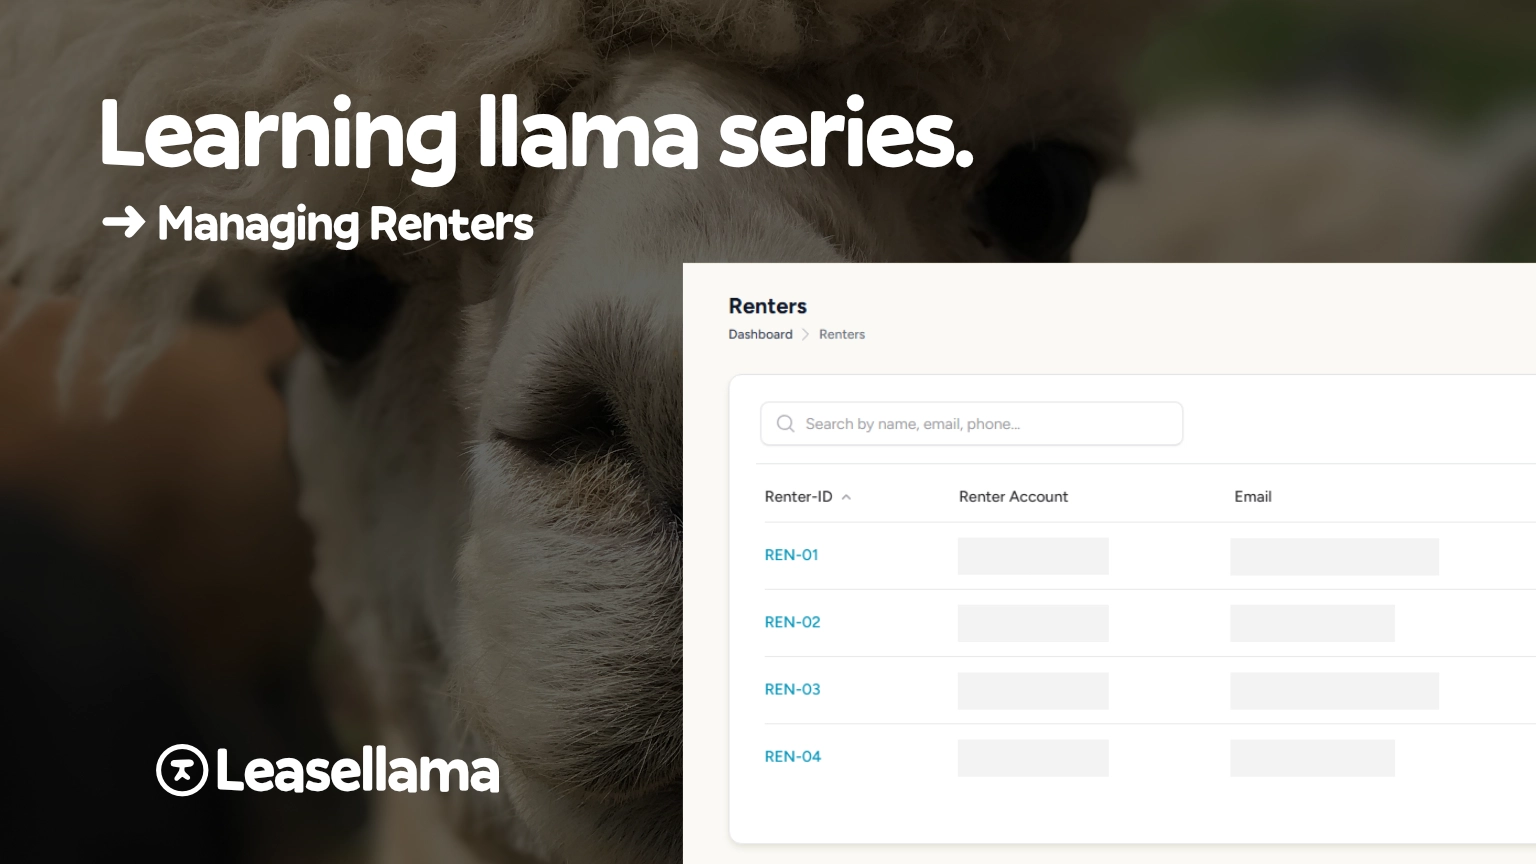
Managing Renters in LeaseLlama
A guide to managing renters in LeaseLlama — from creating accounts and adding payment methods to tracking balances, authorized persons, and the renter ledger.