
How to Set Up LeaseLlama from Scratch
A step-by-step setup guide for new LeaseLlama users — from signing up to renting your first space. Covers system settings, categories, spaces, contracts, Stripe, and adding staff.
The LeaseLlama Team on February 20, 2026
Getting a new piece of facility management software up and running can feel like a project in itself. LeaseLlama is designed to be the exception: most operators go from blank account to first rental in under an hour. This guide walks you through every step, in order, so nothing gets missed.
Here’s what we’ll cover:
- Sign up and log in
- Configure your system settings
- Create your space categories
- Add your spaces
- Set up your rental contract
- Connect Stripe for payments (optional)
- Add your team
Let’s go.
Step 1: Sign up for a LeaseLlama account
Head to leasellama.app/register, enter your information, and create an account owner name and password. Once you enter your credit card number (it’s verified but not charged until your trial ends), your free trial starts immediately: 30 days of full access, no lock-in, no gimmicks. Note that the name you choose for Company Name determines your URL slug. So for example, ACME Storage Company would be https://leasellama.app/acme-storage-company. This can’t be changed later, so name wisely!
After signing up and signing in, you’ll land on the Dashboard. It’ll be quiet for now, but this is your home base once things are running.
Step 2: Configure system settings
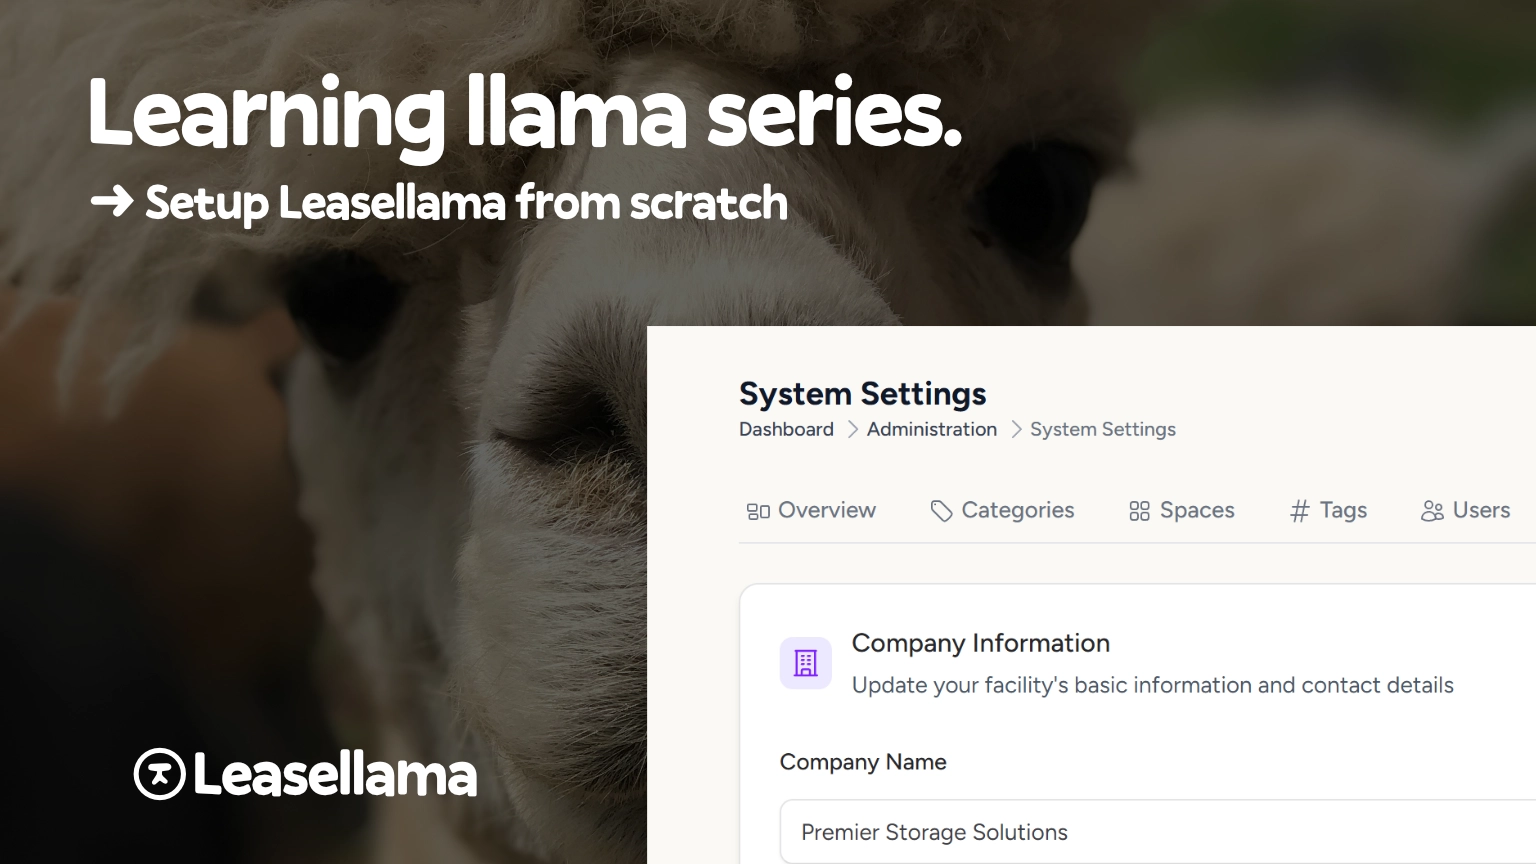
Before you can start leasing spaces, you’ll need to configure your business details. This is the information that appears on invoices, emails, and receipts, and it drives other billing functions. It’s worth getting right on day one, but you can change it later.
- Click Administration in the top navigation (cog icon)
- Go to System Settings
- Fill in your Company Information: business name, contact email, phone, and address, etc.
- Upload your logo (it shows up on invoices, and a wide horizontal logo works best)
- Set your timezone. This affects when invoices generate and when reminder emails go out
- Set your tax rate if your state taxes storage rentals (worth a quick check with your accountant)
- Configure your late fee rules: percentage, minimum, maximum, and grace period
- Add invoice header/footer text: something like “Thanks for storing with us!” and your contact info
- Set your reply-to email address for automated emails
- Click Save in each section
Don’t skip the late fee settings. Once invoices are generated, changing these rules won’t retroactively update them. Set it up correctly now. If you have questions, reach out for support.
Step 3: Create your space categories
Categories are how LeaseLlama groups your spaces by type and sets default pricing. Think about how your facility is naturally organized — each distinct type of space (or section with its own pricing) becomes a category.
A few examples:
- RV storage facility: “Uncovered RV Spots,” “Covered Carports,” “Pull-Through Spaces”
- Warehouse: “Small Bays (600 sq ft),” “Large Bays (1,200 sq ft),” “Pallet Positions”
- Mixed-use: “Monthly Parking,” “Outdoor Storage,” “Climate-Controlled Units”
To create a category:
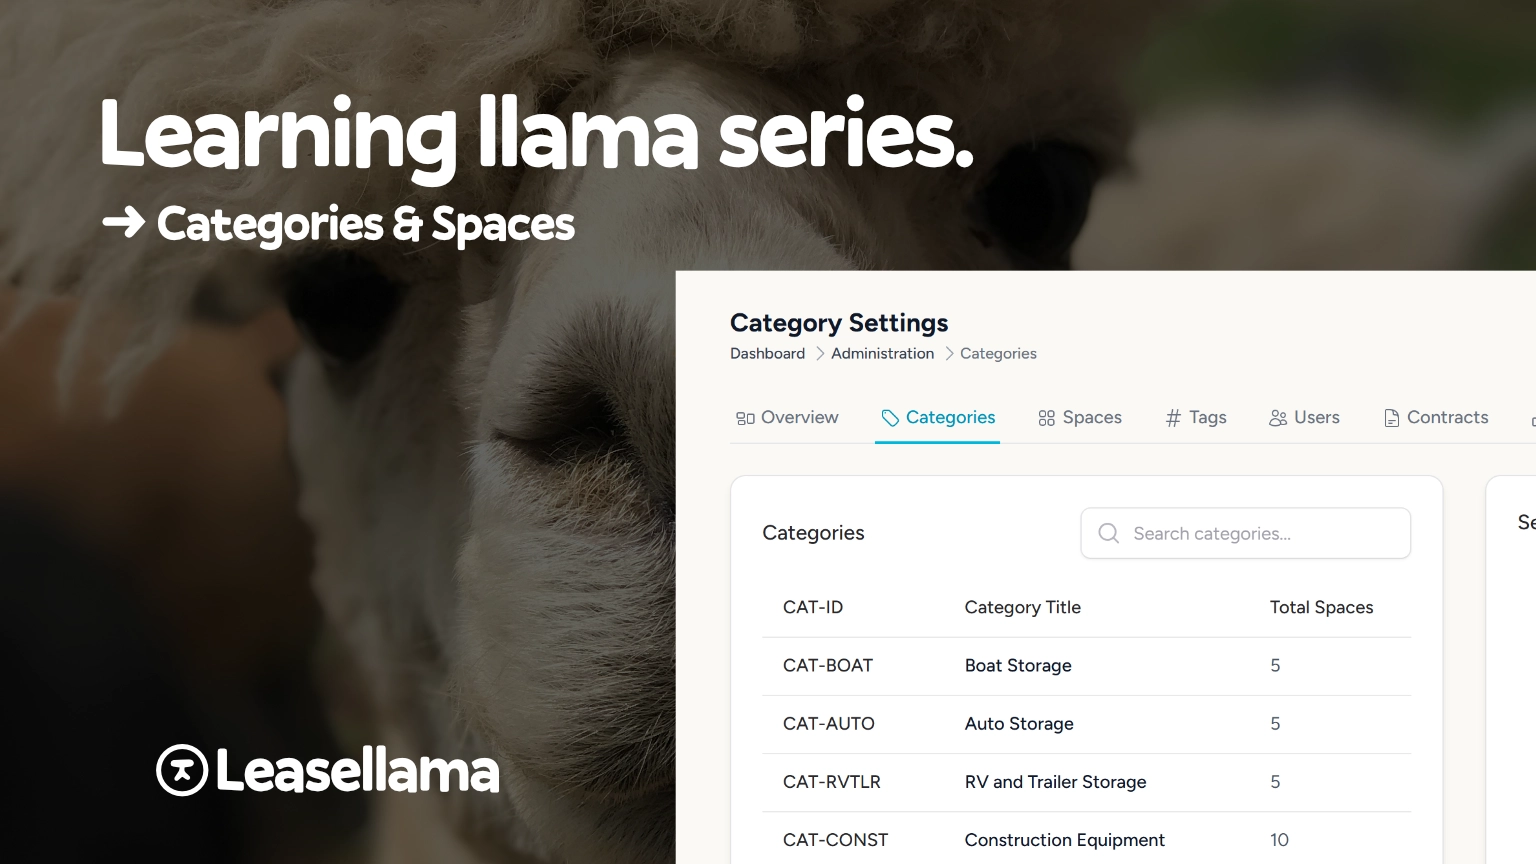
- Go to Administration → Categories
- Click Create New Category
- Enter a title, your daily rate, deposit amount, and any notes
- Click Create Category
- Repeat for each category type
On daily rates: LeaseLlama stores a daily rate and calculates monthly (~daily × 30), quarterly, and annual prices from it. To convert: divide your monthly price by 30. A $150/month space has a daily rate of $5.00.
Once a category is created, individual spaces can override its pricing — so categories are defaults, not hard limits.
Step 4: Add your spaces
With categories set up, you can add the actual units renters will lease. Each space belongs to a category and inherits its pricing unless you override it.
Adding spaces one at a time:
- Go to Administration → Spaces
- Click Create New Space
- Select a category, assign a Space ID (like
RV-01orBAY-B-07), and add any notes - Click Create Space
Adding spaces in bulk (up to 50 at a time):
- Click Bulk Create
- Select a category and enter how many spaces to create
- Preview the auto-generated IDs and click Create Spaces
Bulk creation is the fastest way to load a large number of spaces. The generated IDs follow a sequential format. You can always rename individual spaces afterward.
If a small number of spaces have a different rate than the rest of their category (say, a premium corner unit), just open that space and enter a pricing override. Everything else in the category stays unchanged.
Step 5: Set up your rental contract
Your contract is the rental agreement every renter signs before their first checkout. LeaseLlama uses a single contract for your facility.
- Go to Administration → Contracts
- Replace the placeholder text with your actual rental terms
- Add your contract title, version number, and effective date
- Click Save
Your contract should cover the basics: parties, space description, rent and payment terms, late fees, access rules, prohibited items, liability, and termination.
Get it reviewed. Many states have specific self-storage lien laws and required disclosures. LeaseLlama’s editor gives you a starting point. A local attorney should give it a final look before you go live.
Renters sign electronically when you check out a space to them.
Step 6: Connect Stripe (optional but recommended)
If you want to accept credit card payments and run automatic recurring billing, you’ll need to connect a Stripe account.
- Go to Administration → Integrations
- Paste in your Stripe Publishable Key, Secret Key, Account ID, and Webhook Secret
- Click Save Credentials
Don’t have Stripe yet? Create a free account at stripe.com. Start in test mode to try things out, then switch to live mode when you’re ready for real money.
If you prefer to track payments manually (cash, check, or bank transfer), you can skip Stripe entirely and record payments inline on each invoice.
Step 7: Add your team (if you have staff)
If you have employees or managers who need access, add them now so they’re ready when you open for business.
- Go to Administration → Users
- Click Add New User
- Enter their name, email, and assign a role:
- Administrator: full access, including all settings (owners and managers)
- Operator: daily operations only. Check in/out, record payments, view renters and spaces (front desk staff)
- Set a password and click Create User
They can log in immediately. When in doubt, start staff as Operators and upgrade to Administrator if needed.
You’re ready
Once you’ve completed these steps, LeaseLlama is configured and ready to lease spaces. Your next move is checking out your first renter, which is covered in the next Learning Llama post.
The full setup typically takes 30–60 minutes depending on how many categories and spaces you have. If you run into anything, the documentation covers every screen in detail.
Ready to get started? Start your free trial: 30 days of full access, no lock-in.
Keep reading
Categories and Spaces: How LeaseLlama Organizes Your Facility
Learn how LeaseLlama's two-level system of categories and spaces helps RV storage, boat storage, parking, and warehouse operators set up consistent pricing and manage inventory without the headache.
Managing Renters in LeaseLlama
A guide to managing renters in LeaseLlama — from creating accounts and adding payment methods to tracking balances, authorized persons, and the renter ledger.
How to Rent a Space: The LeaseLlama Checkout Process
A step-by-step walkthrough of the LeaseLlama checkout process — from getting a renter into the system to a signed contract and first invoice, start to finish.